Our Home - Part 2
Besides getting a nice house out of this, the purpose of building our 1000sf extension was to learn from a client’s perspective what is involved, what to expect, and how to survive a major renovation. I wanted to see every step of the build close up. We sealed off half the house with double doors and insulation and moved to one side of the house partly because the cost of moving out was expensive and complicated, but also to be close by. Although, in hindsight, I feel I get more honest responses from the various trades as designer than as a homeowner.
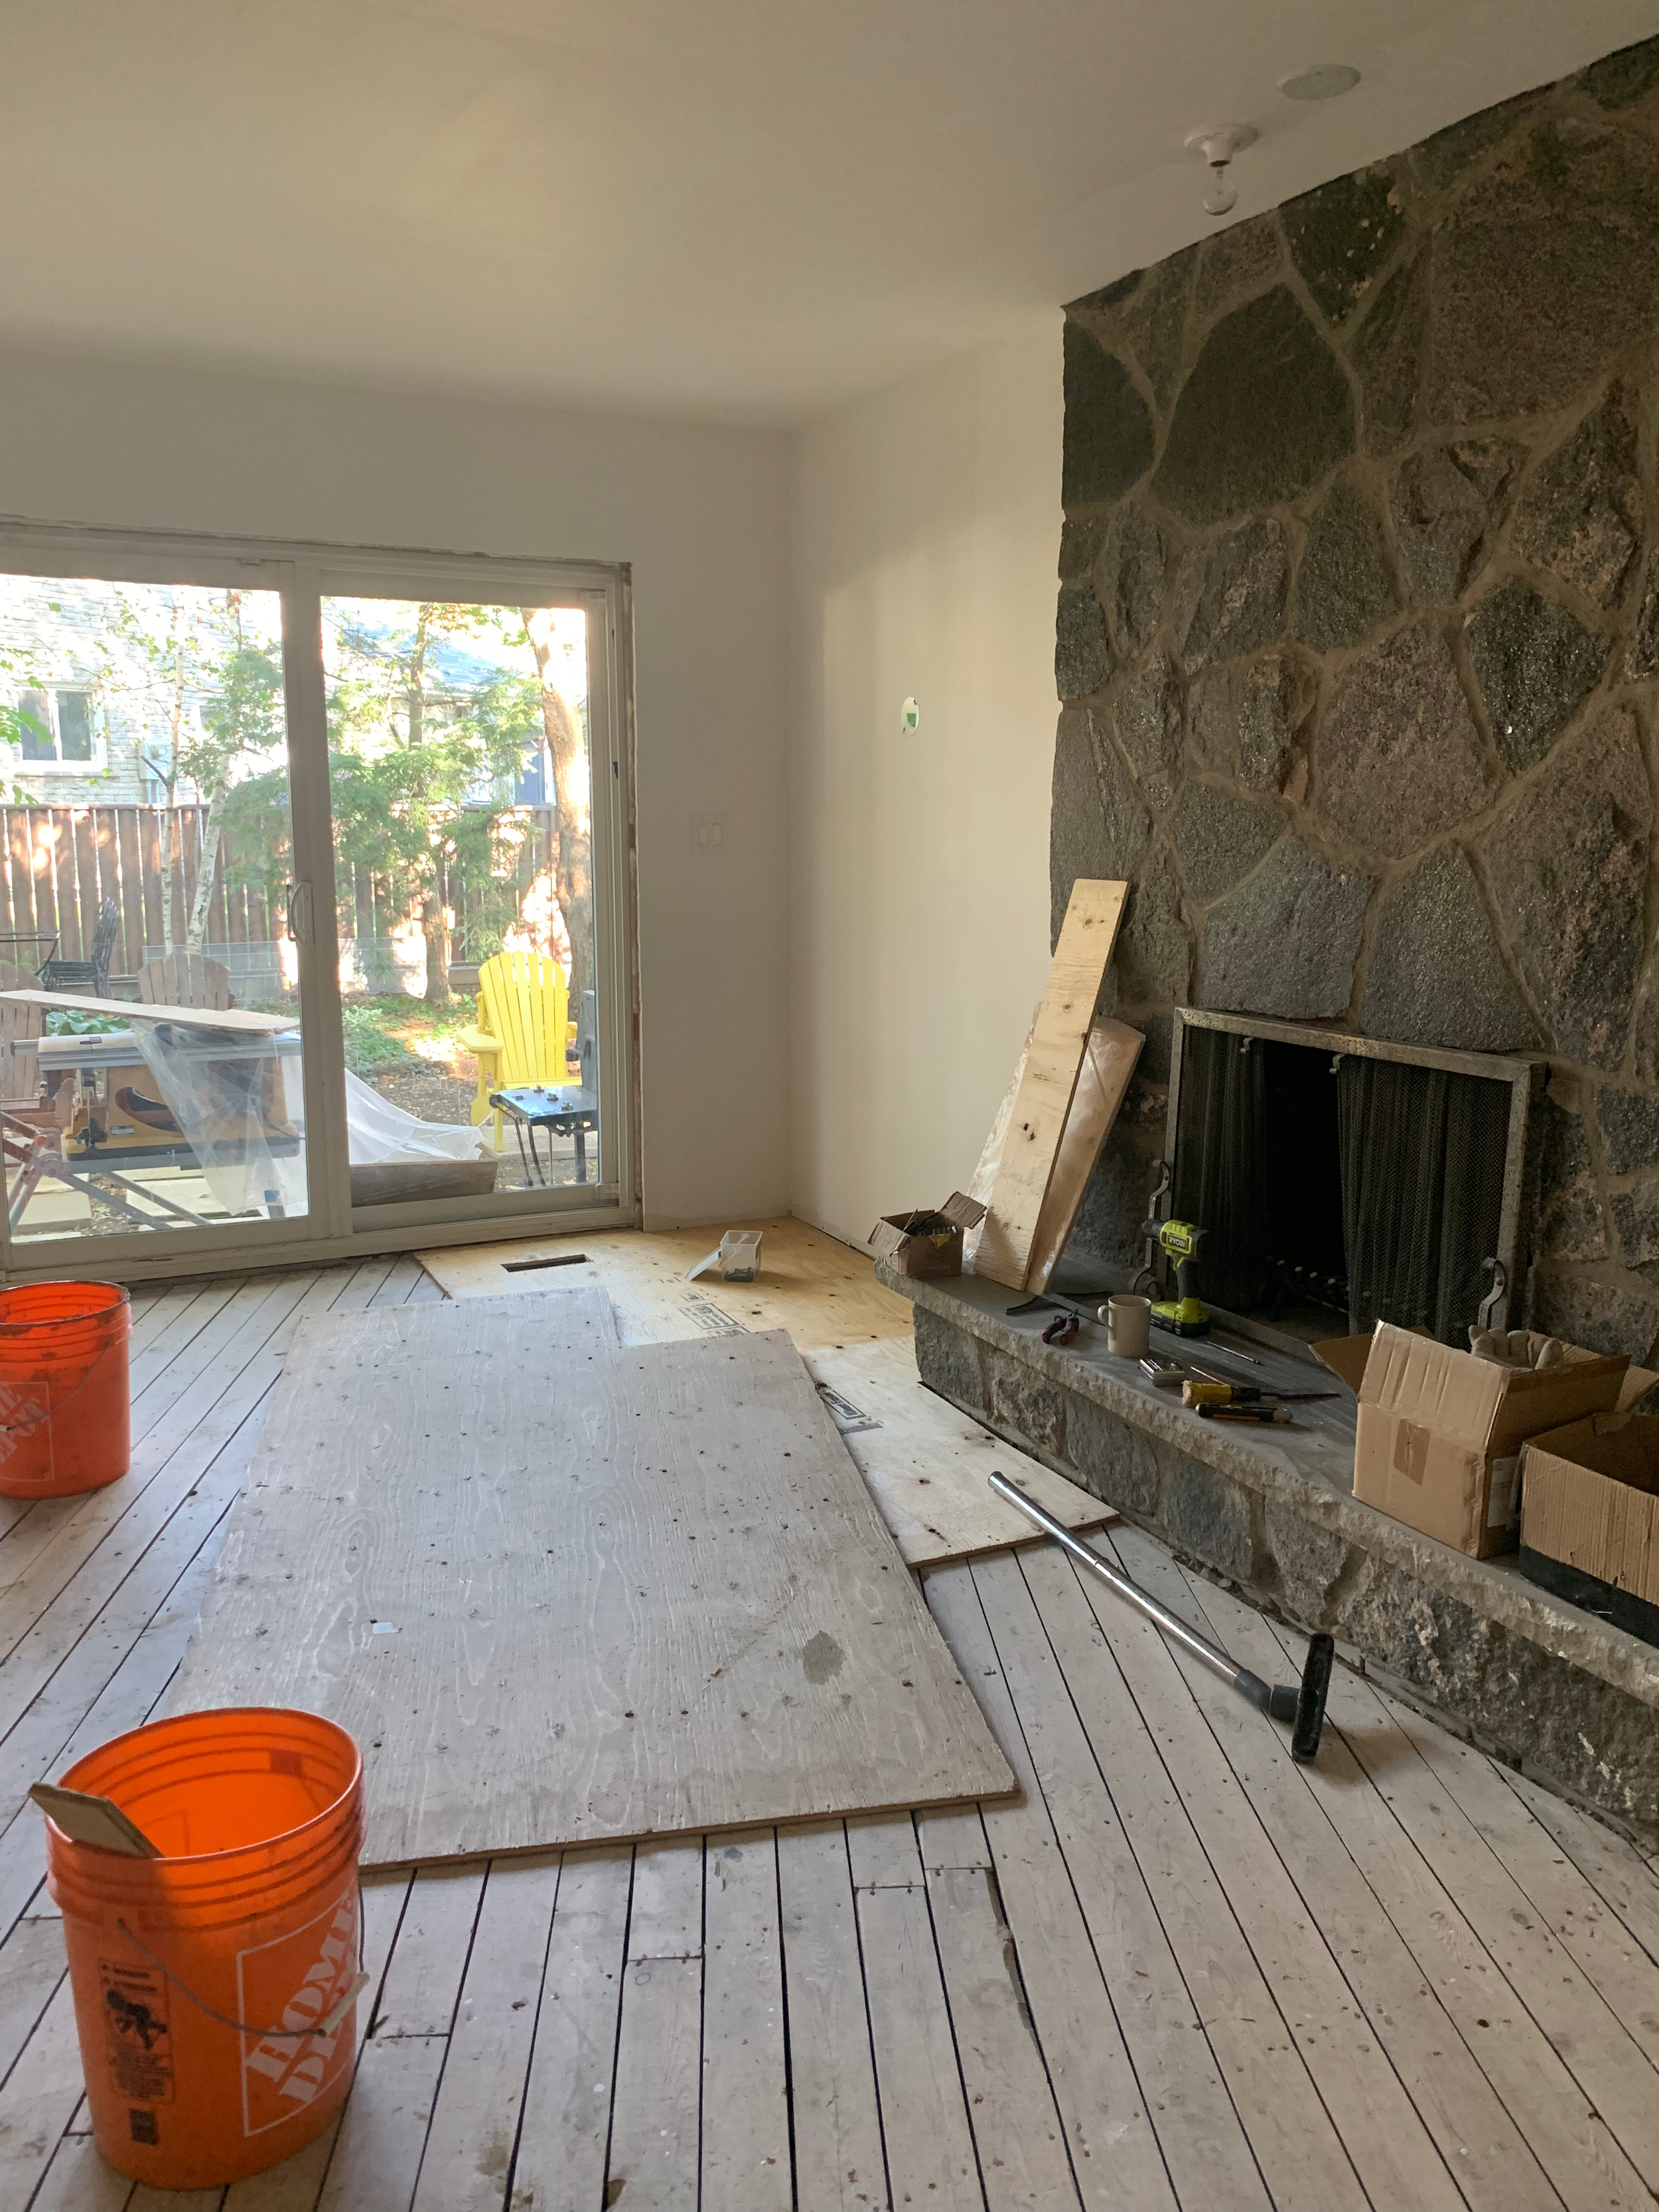
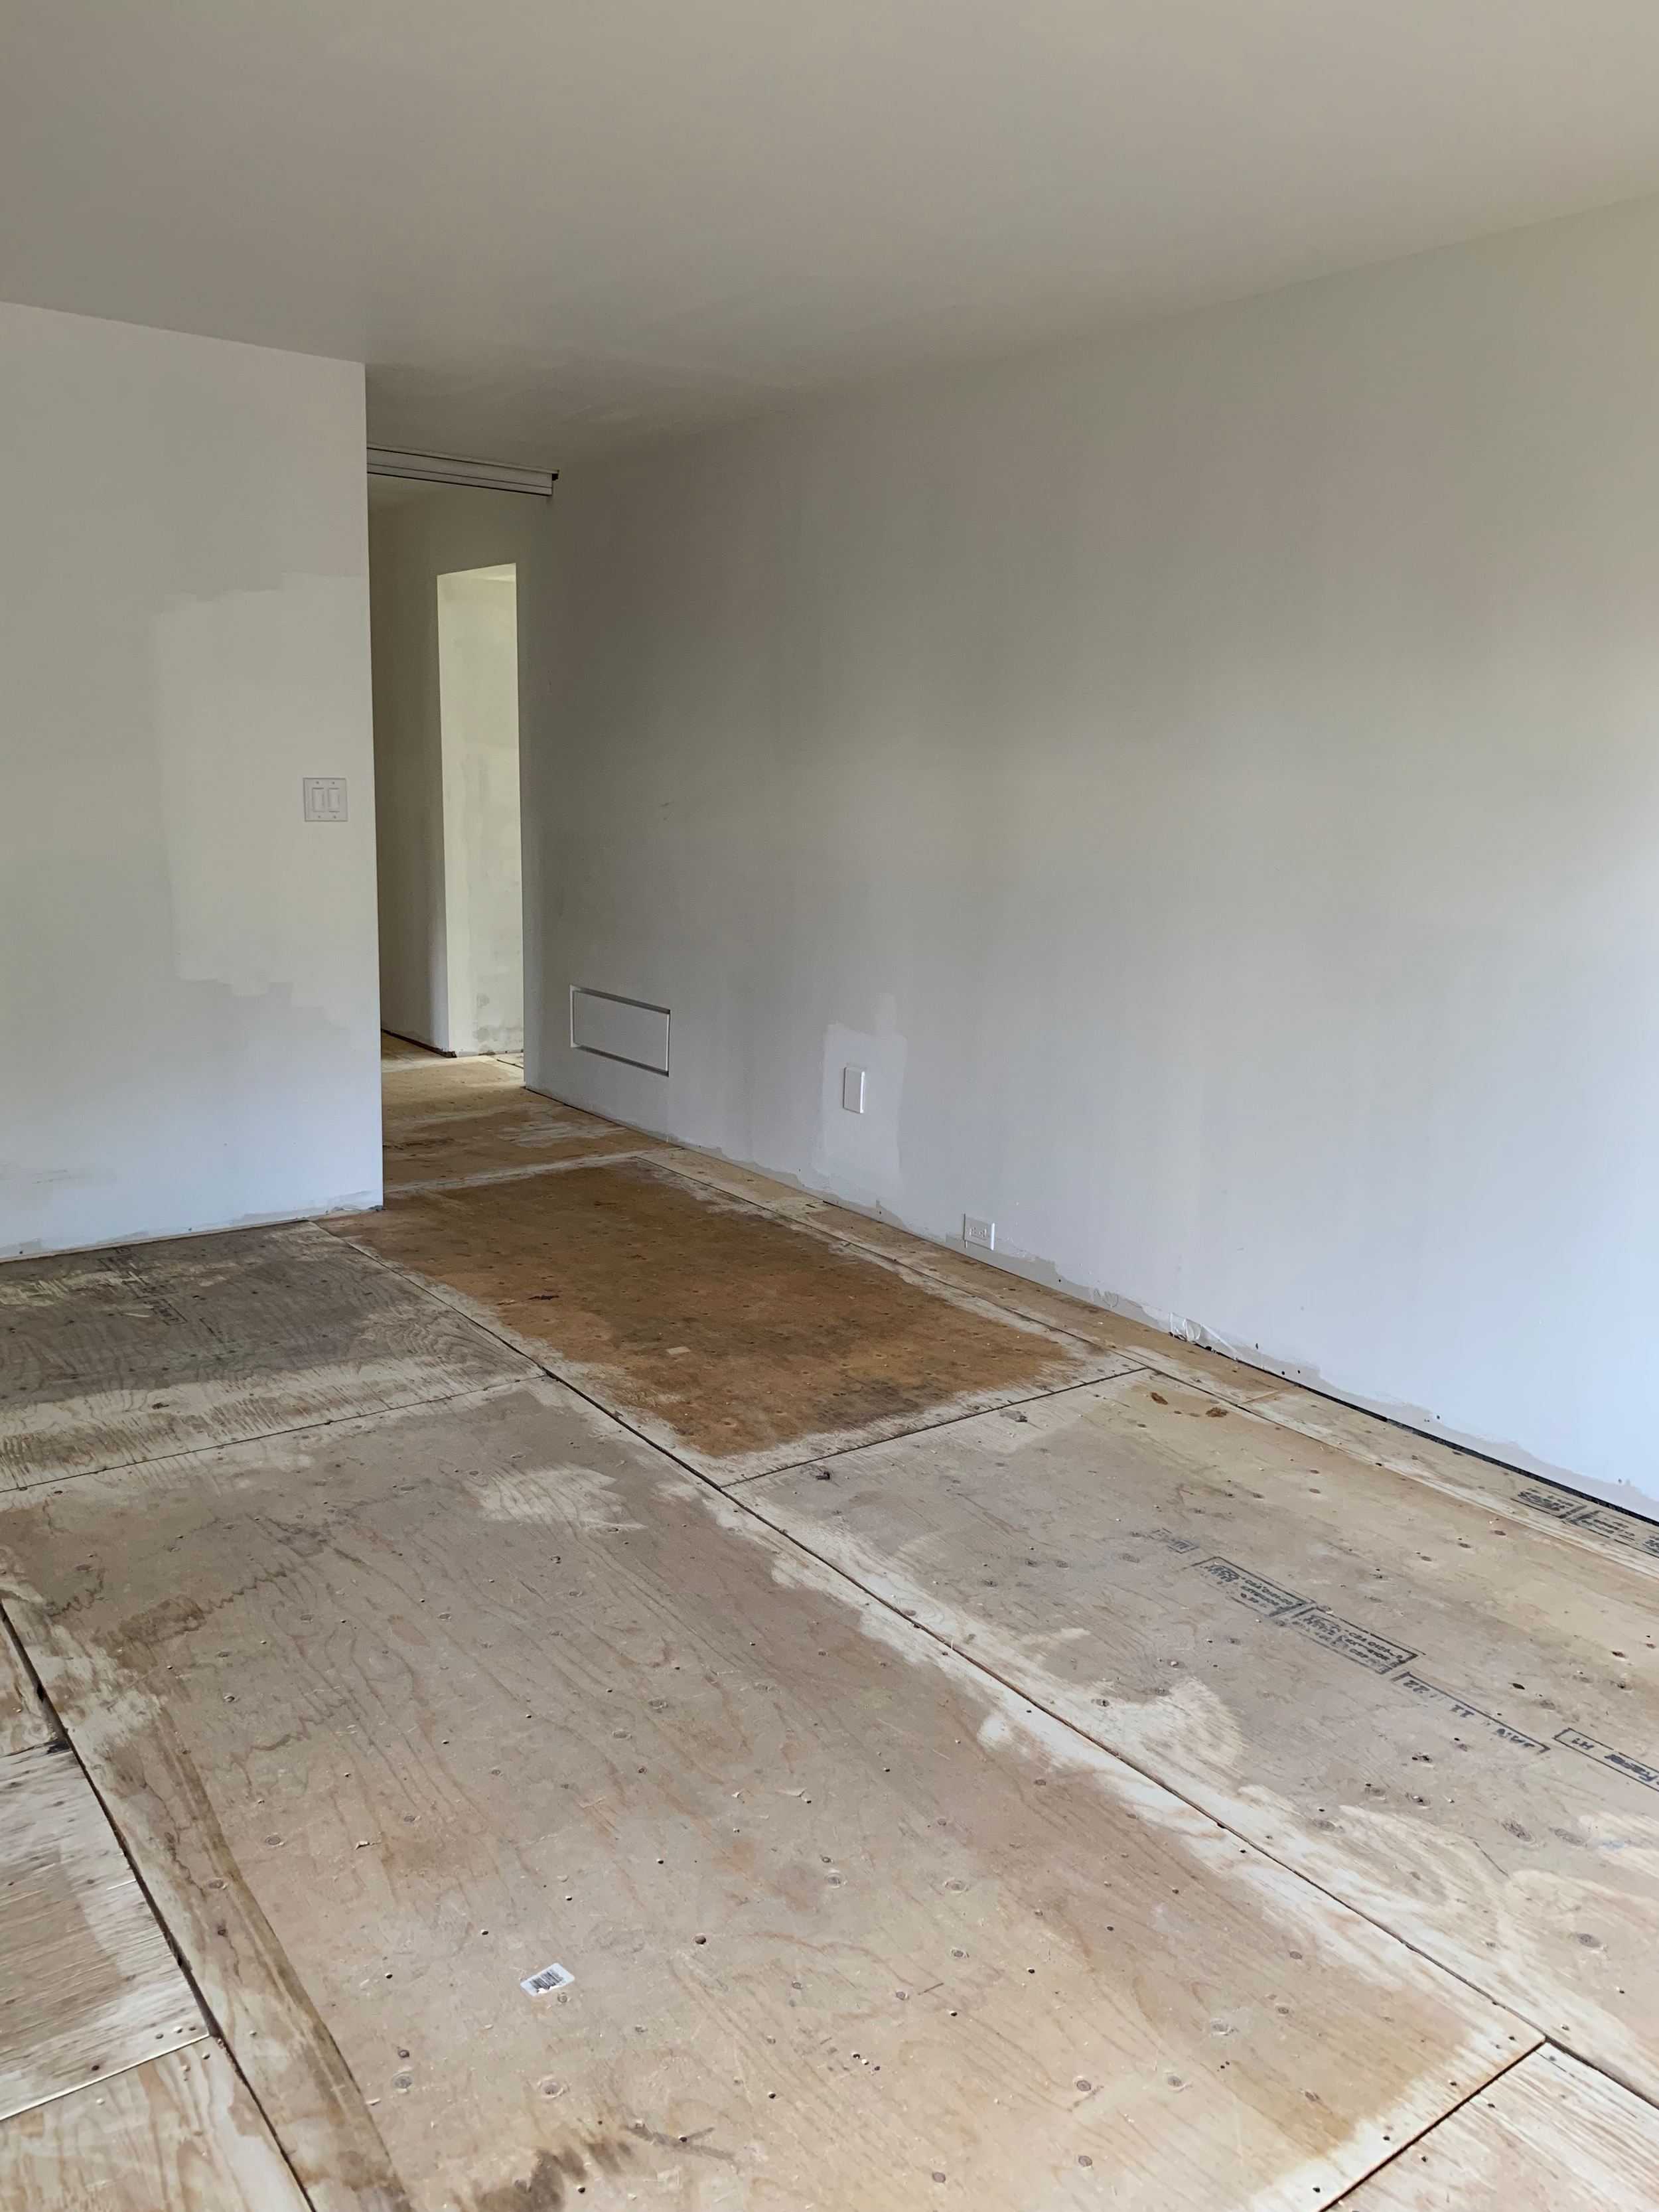
I was surprised how little of the main level remained after the demo. We had contemplated saving the flooring, but it was going to cost as much as it was worth in trying to preserve it. So once the roof was off, the drywall removed, the flooring stripped back to the diagonal plank subfloor, and the windows and doors removed and safely stored to be re-installed later (another contemplated expense that went the other way), there really wasn’t much left but just a few brick single story walls.
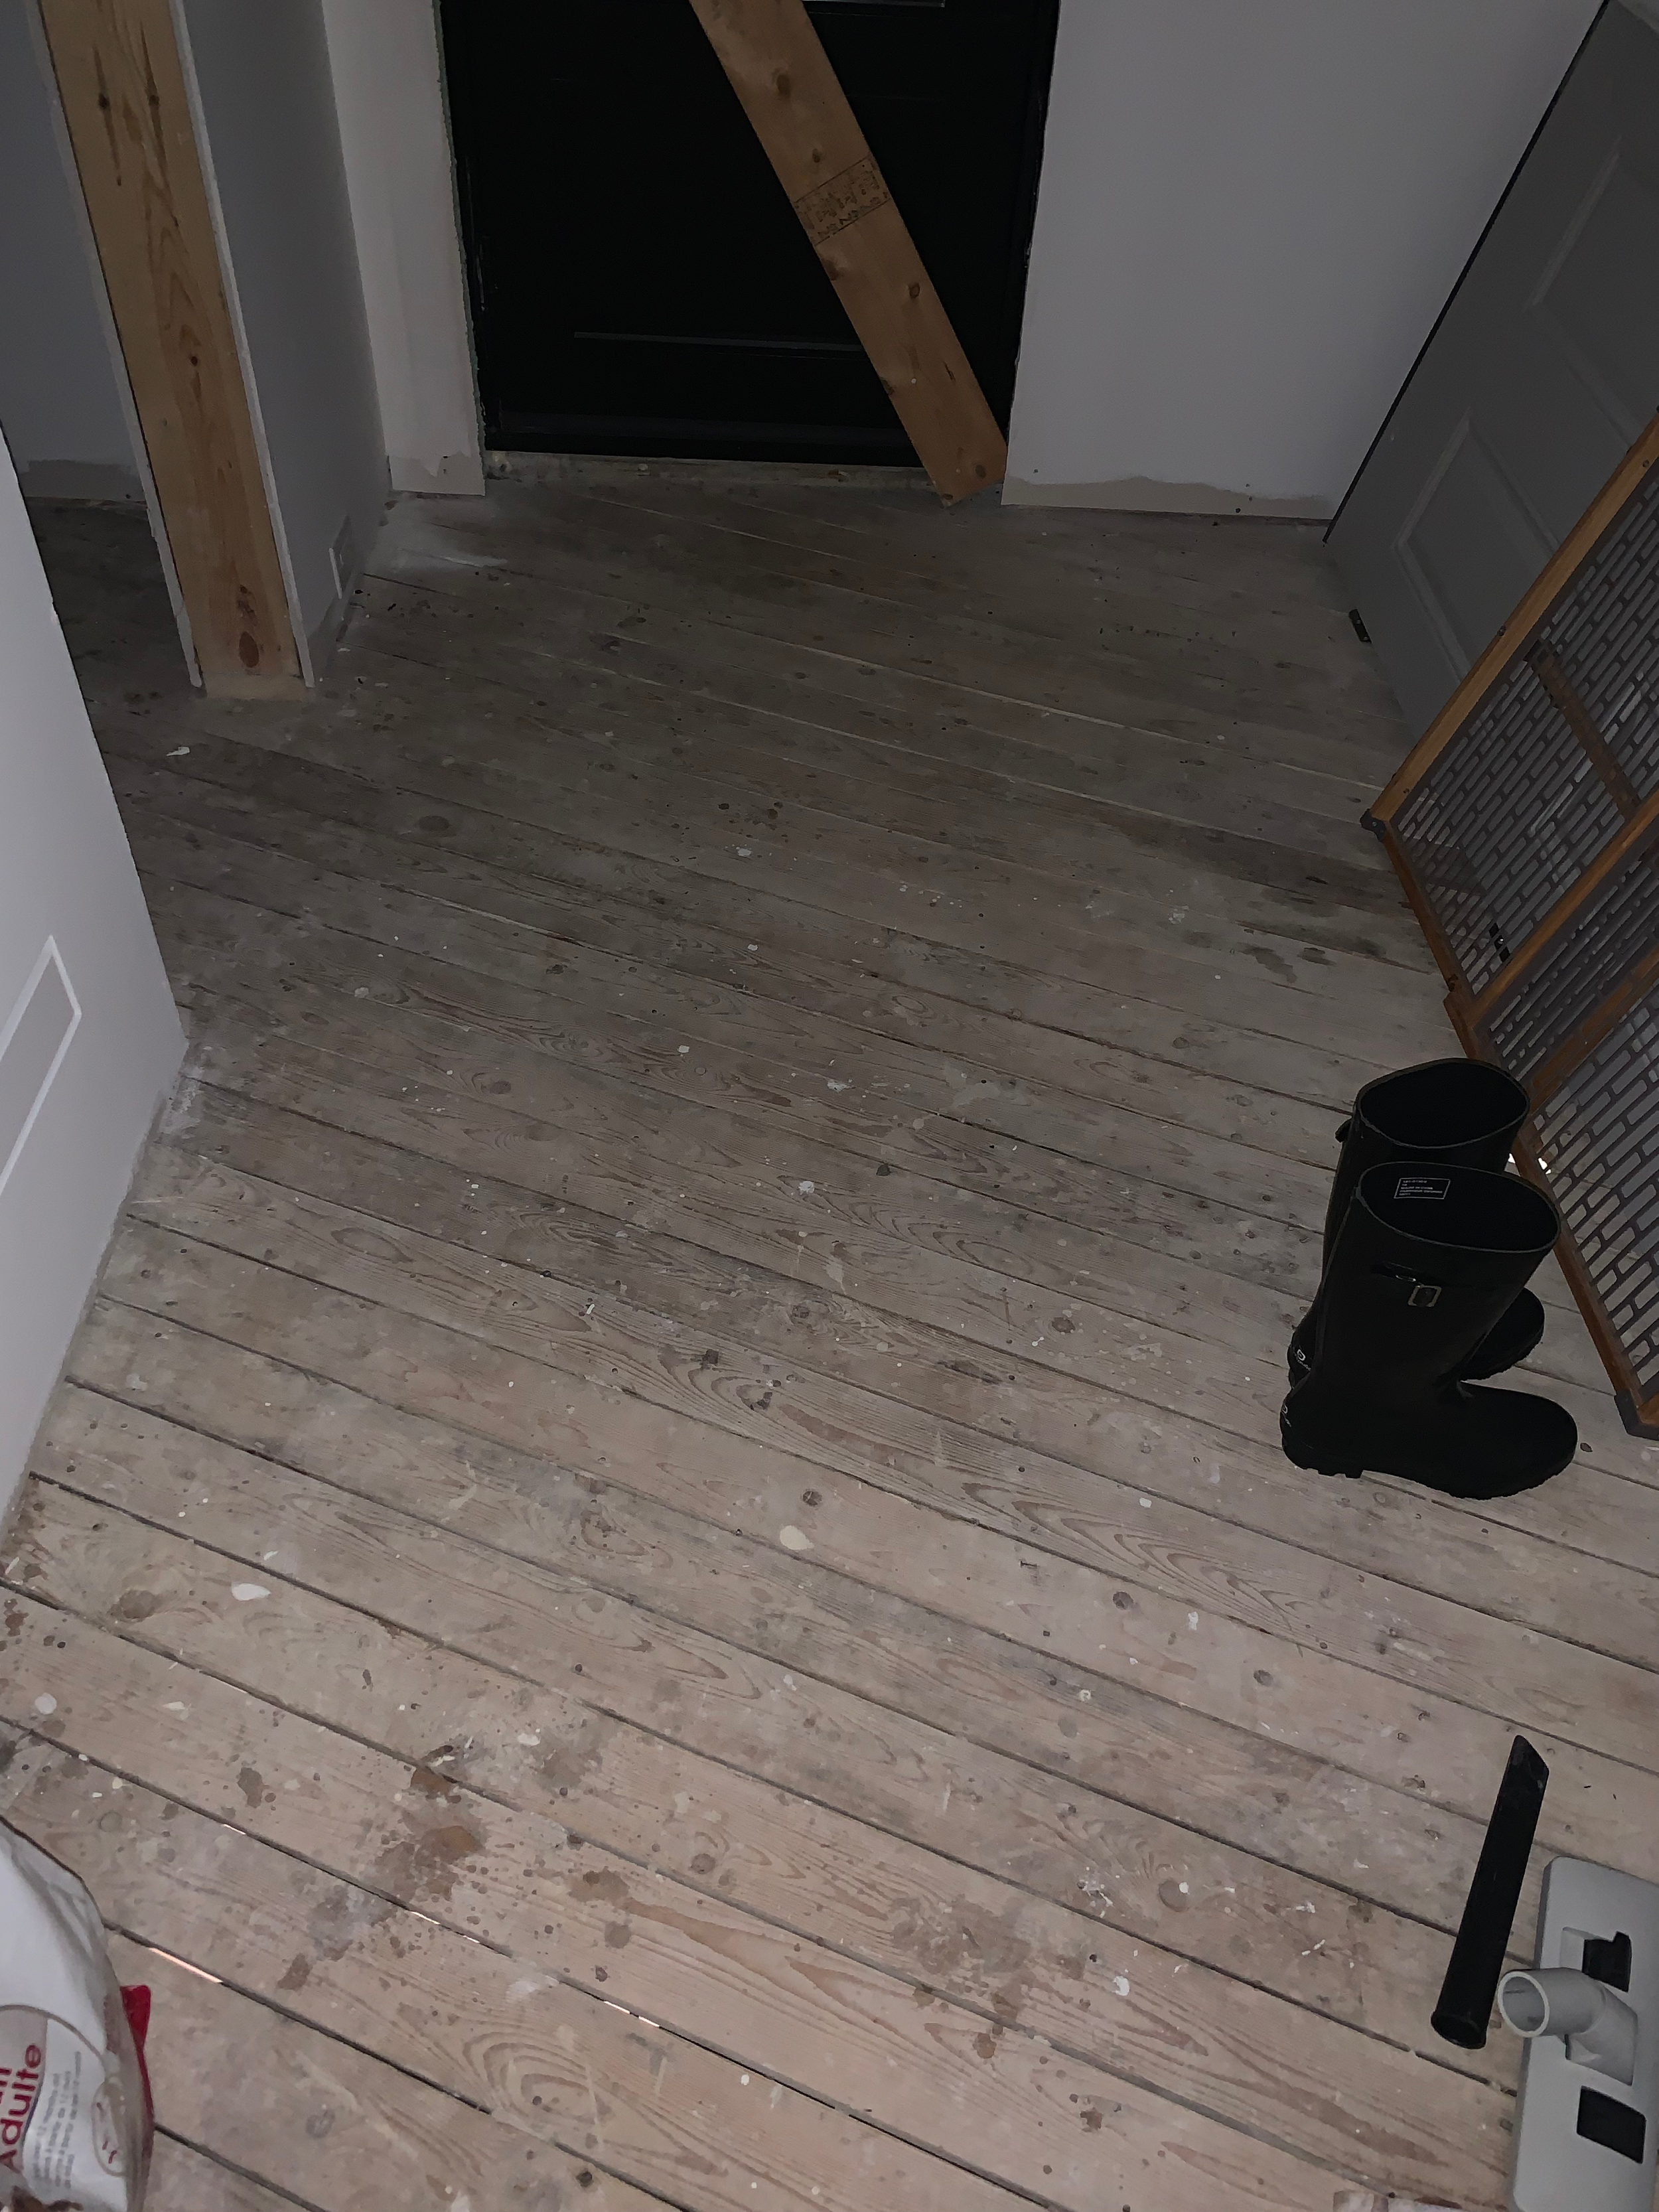
Since we were living in the house and it was still winter, the furnace needed to stay on. The mechanical room is located in the basement of the renovated side and we were worried it wouldn’t hold up in the cold. The floorboards were covered in insulated blankets and coved with 1/2” plywood. Luckily the weather last year in early March was dryer than it was this year and we were able to get the framing completed and the roof on before the next big snow fall.
Getting the main level back to usable was my first priority. We, at least, needed the space we had before we started all this.
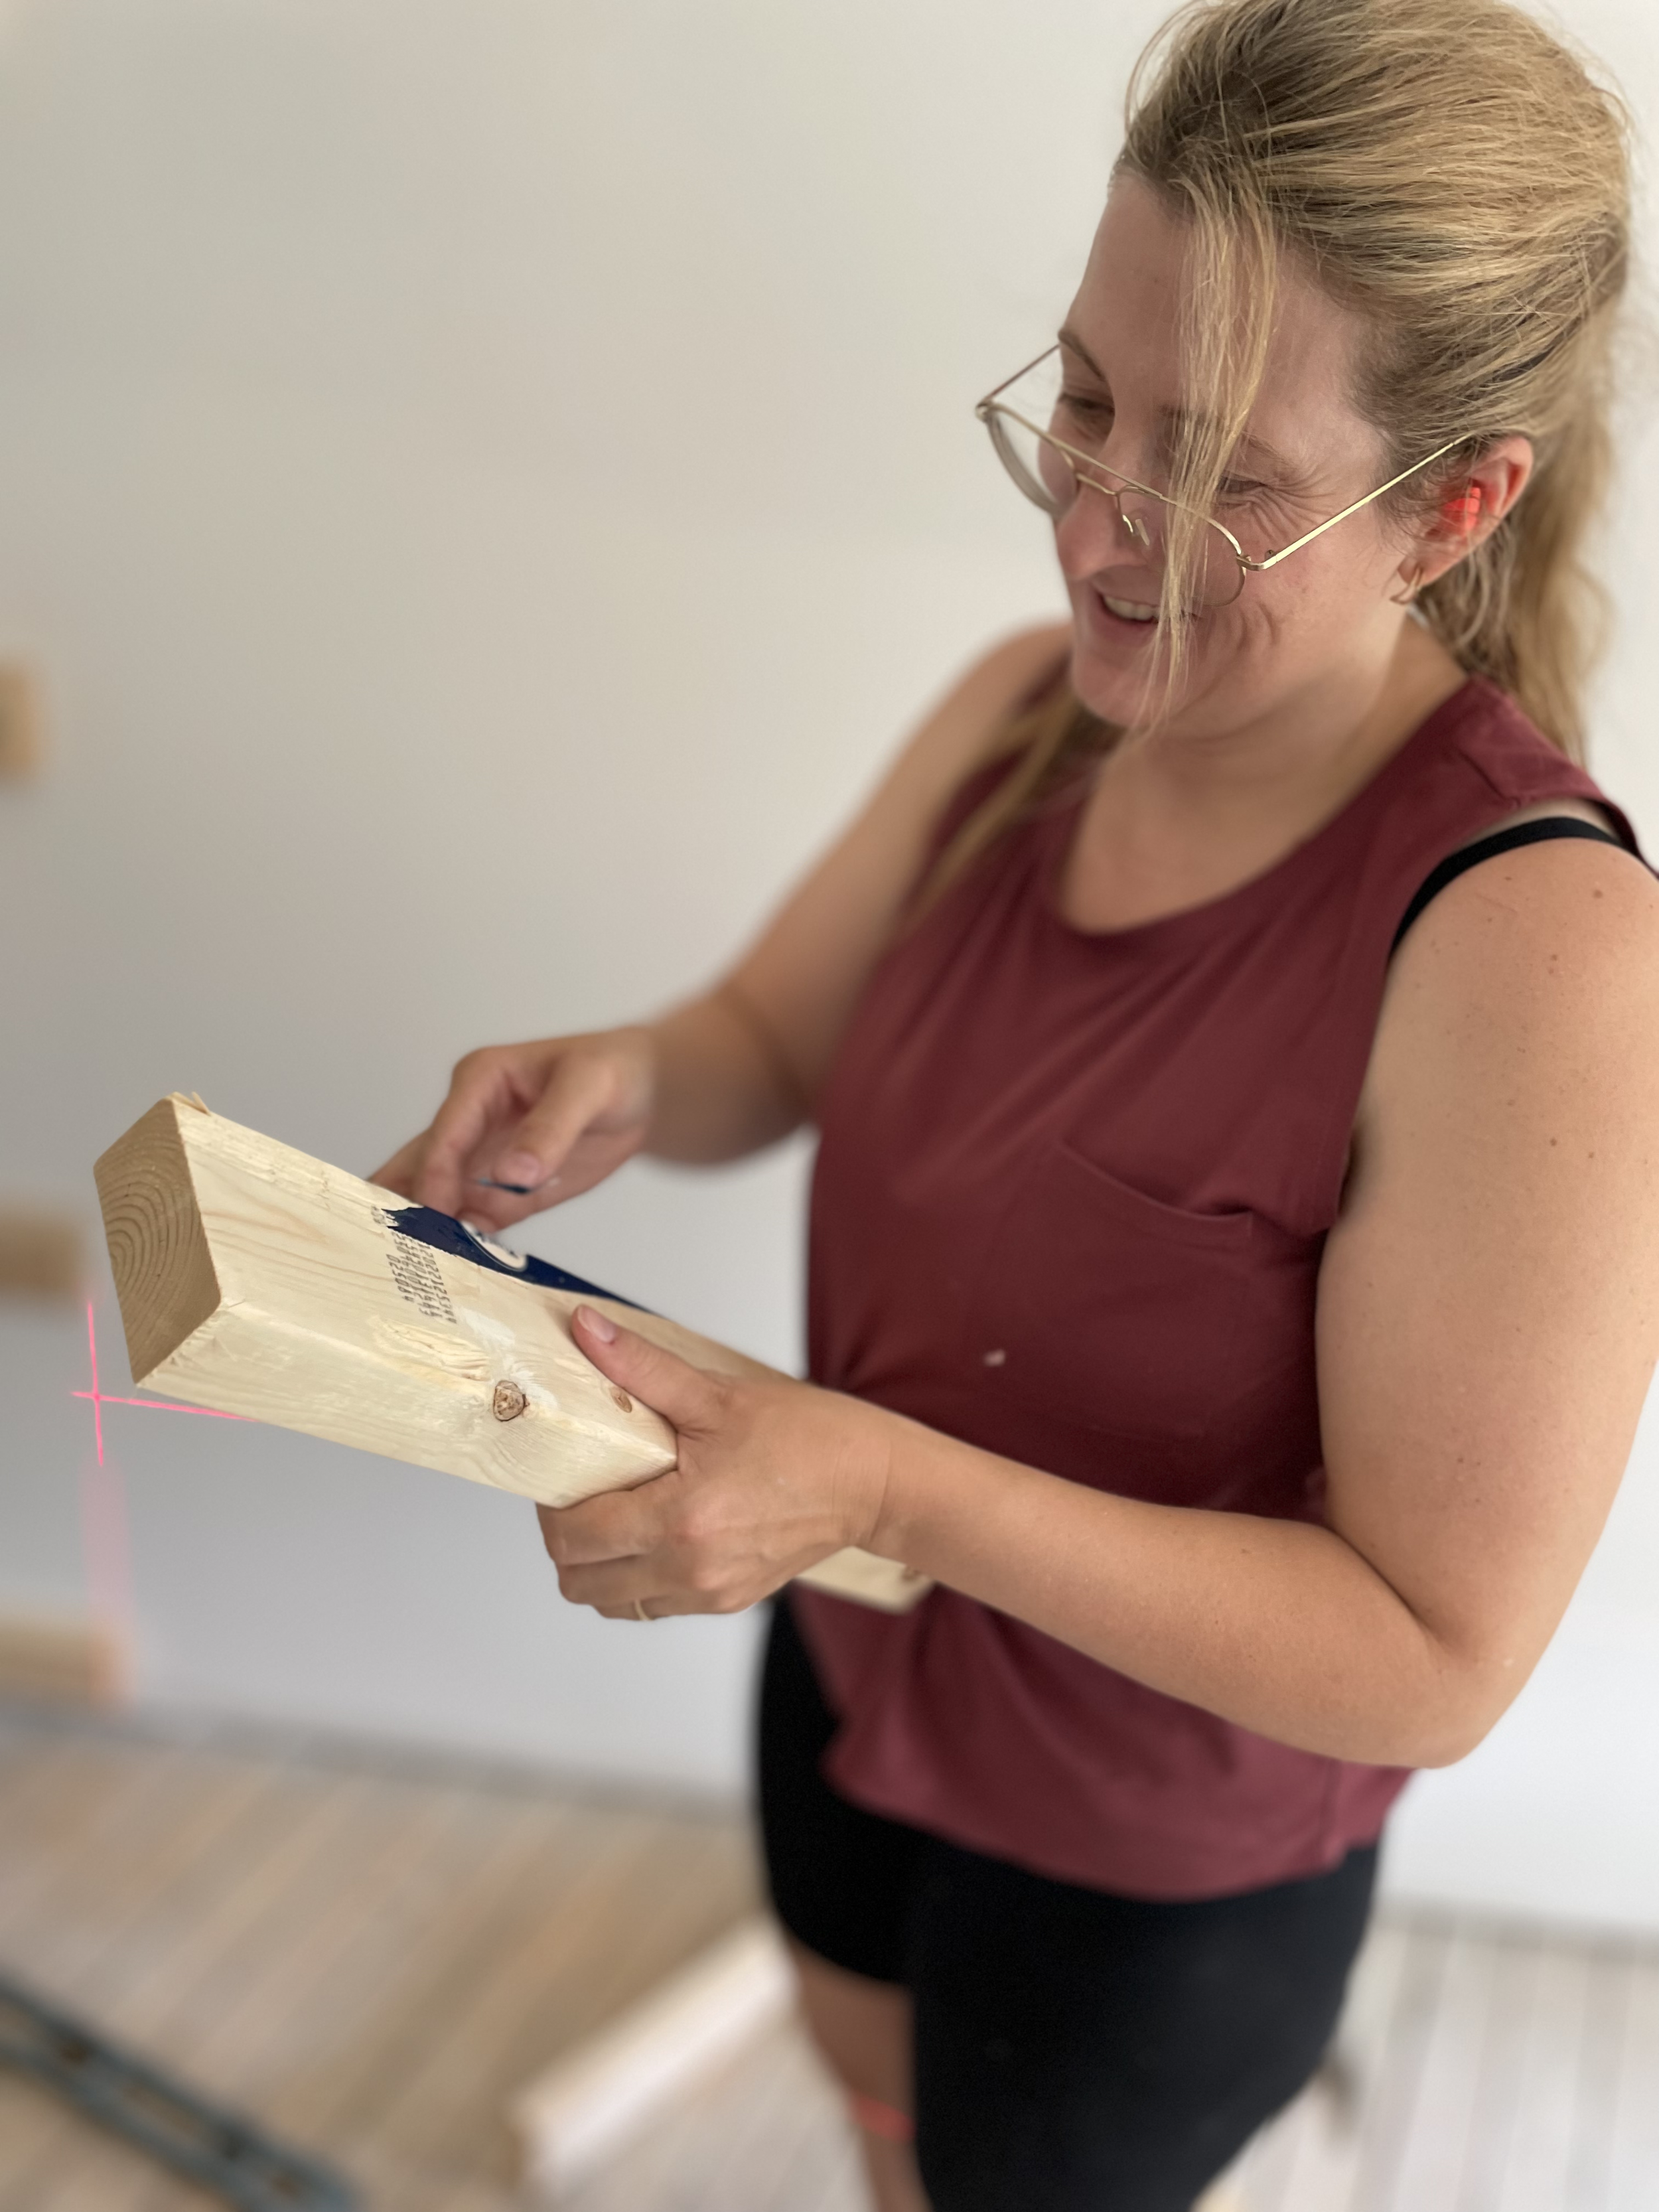
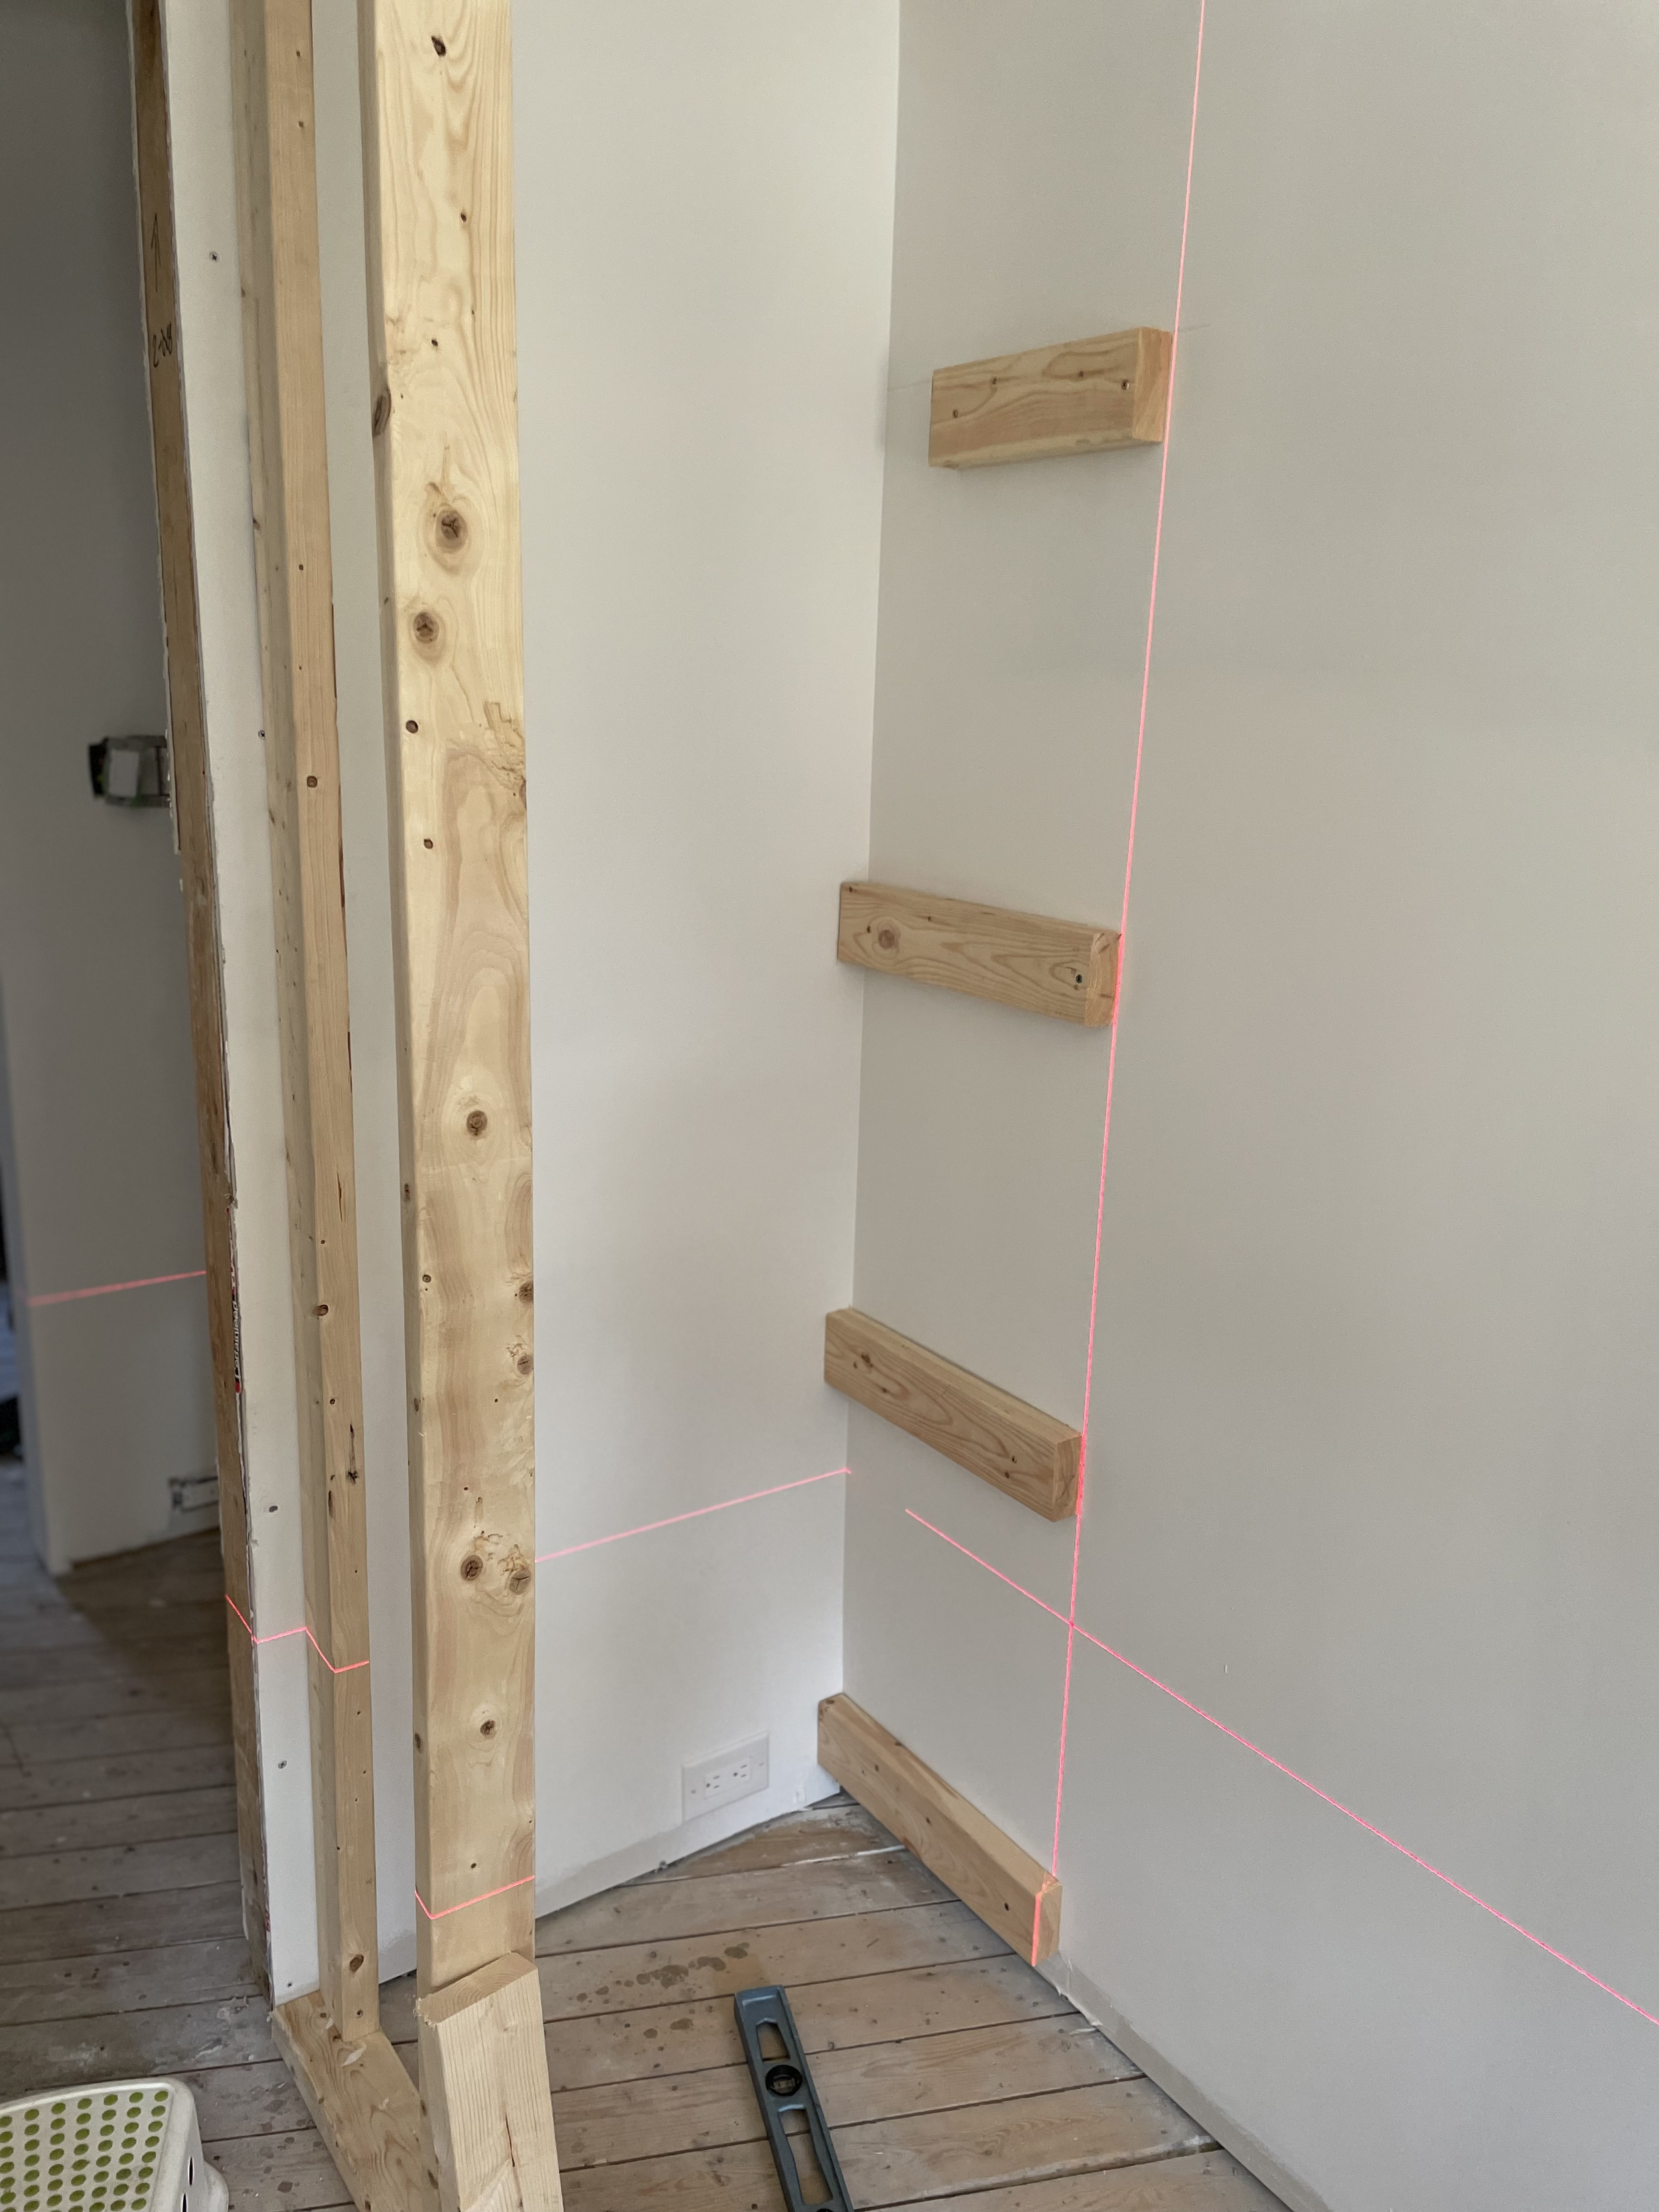
We have a small office on the main floor, when the guys were doing the HVAC they pointed out the there will be a bulkhead running across the back wall and over the door. I didn’t have a choice, so I didn’t think much about it, but once we took over the build, I was able to stand in the room and see how the bullhead affected the room. It ran the exact height of the doorframe which meant a traditional trim was impossible.
Shelving was the only solution, but custom millwork wasn’t in the budget. We had extra 2x4 and drywall so I built out some deep display shelves, which also happened to created a short hallway into the room eliminating the need for a door. The shelves also make a great background for the many video confrencing that goes on in there.
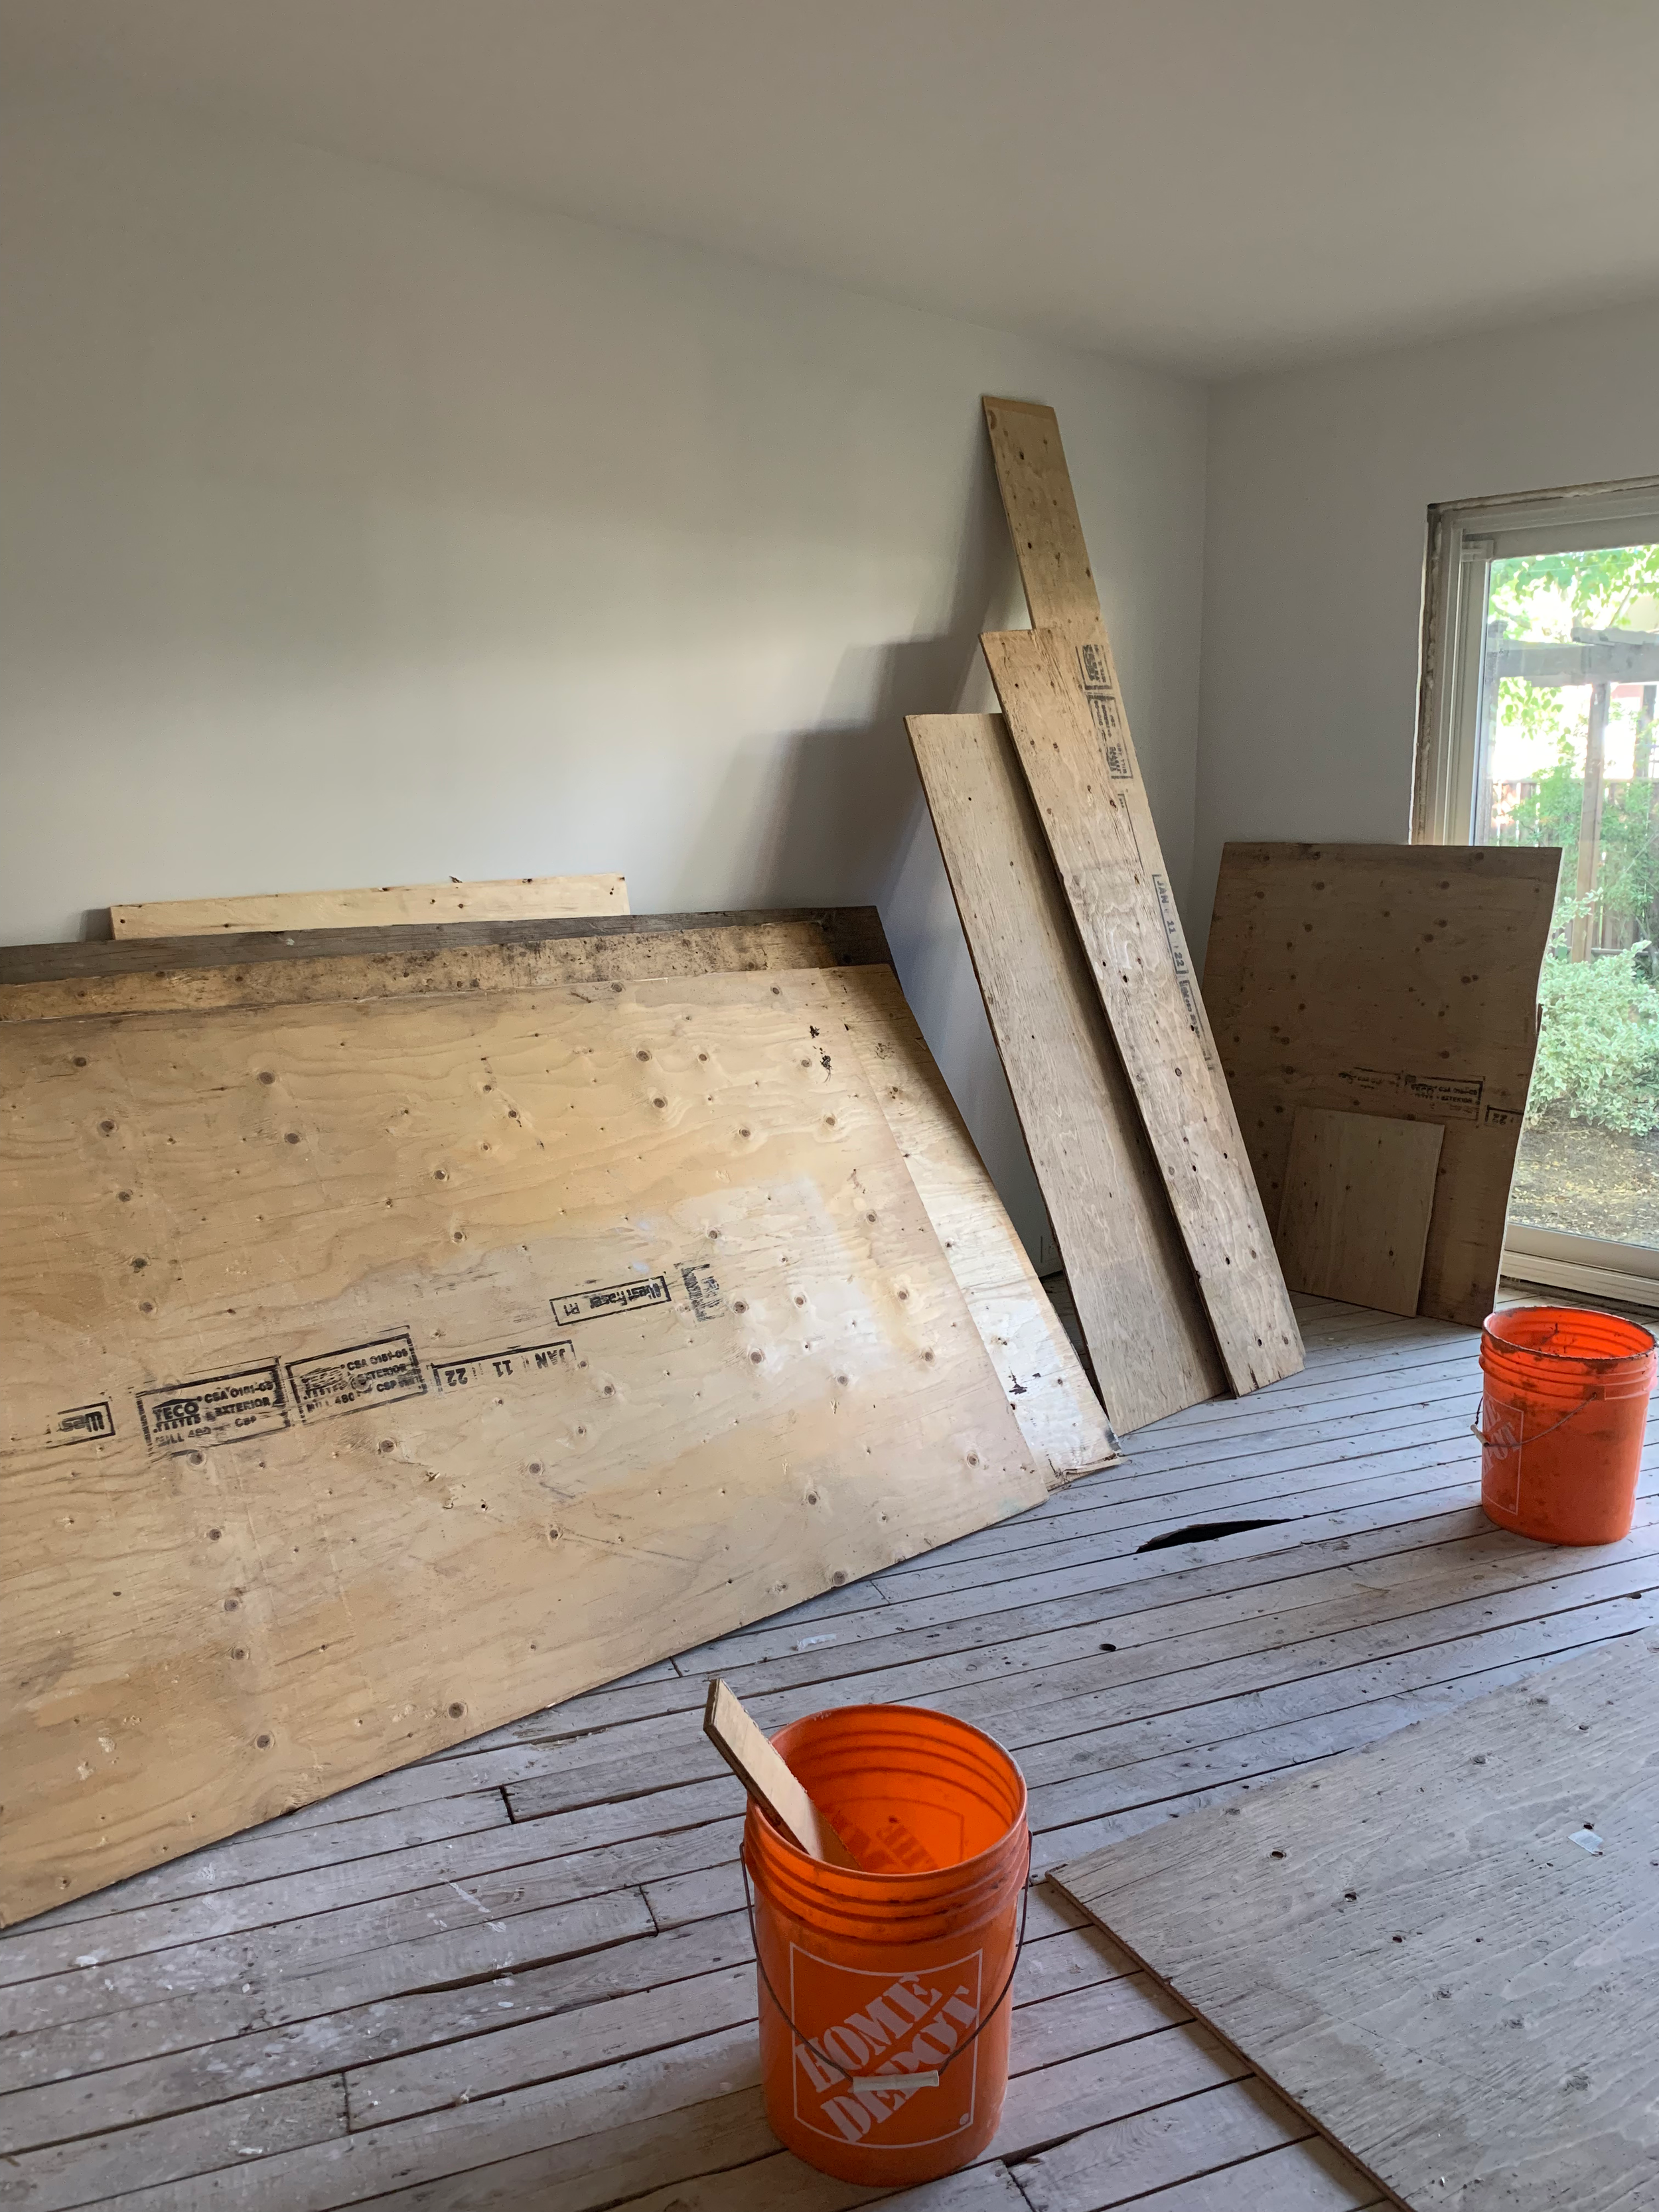
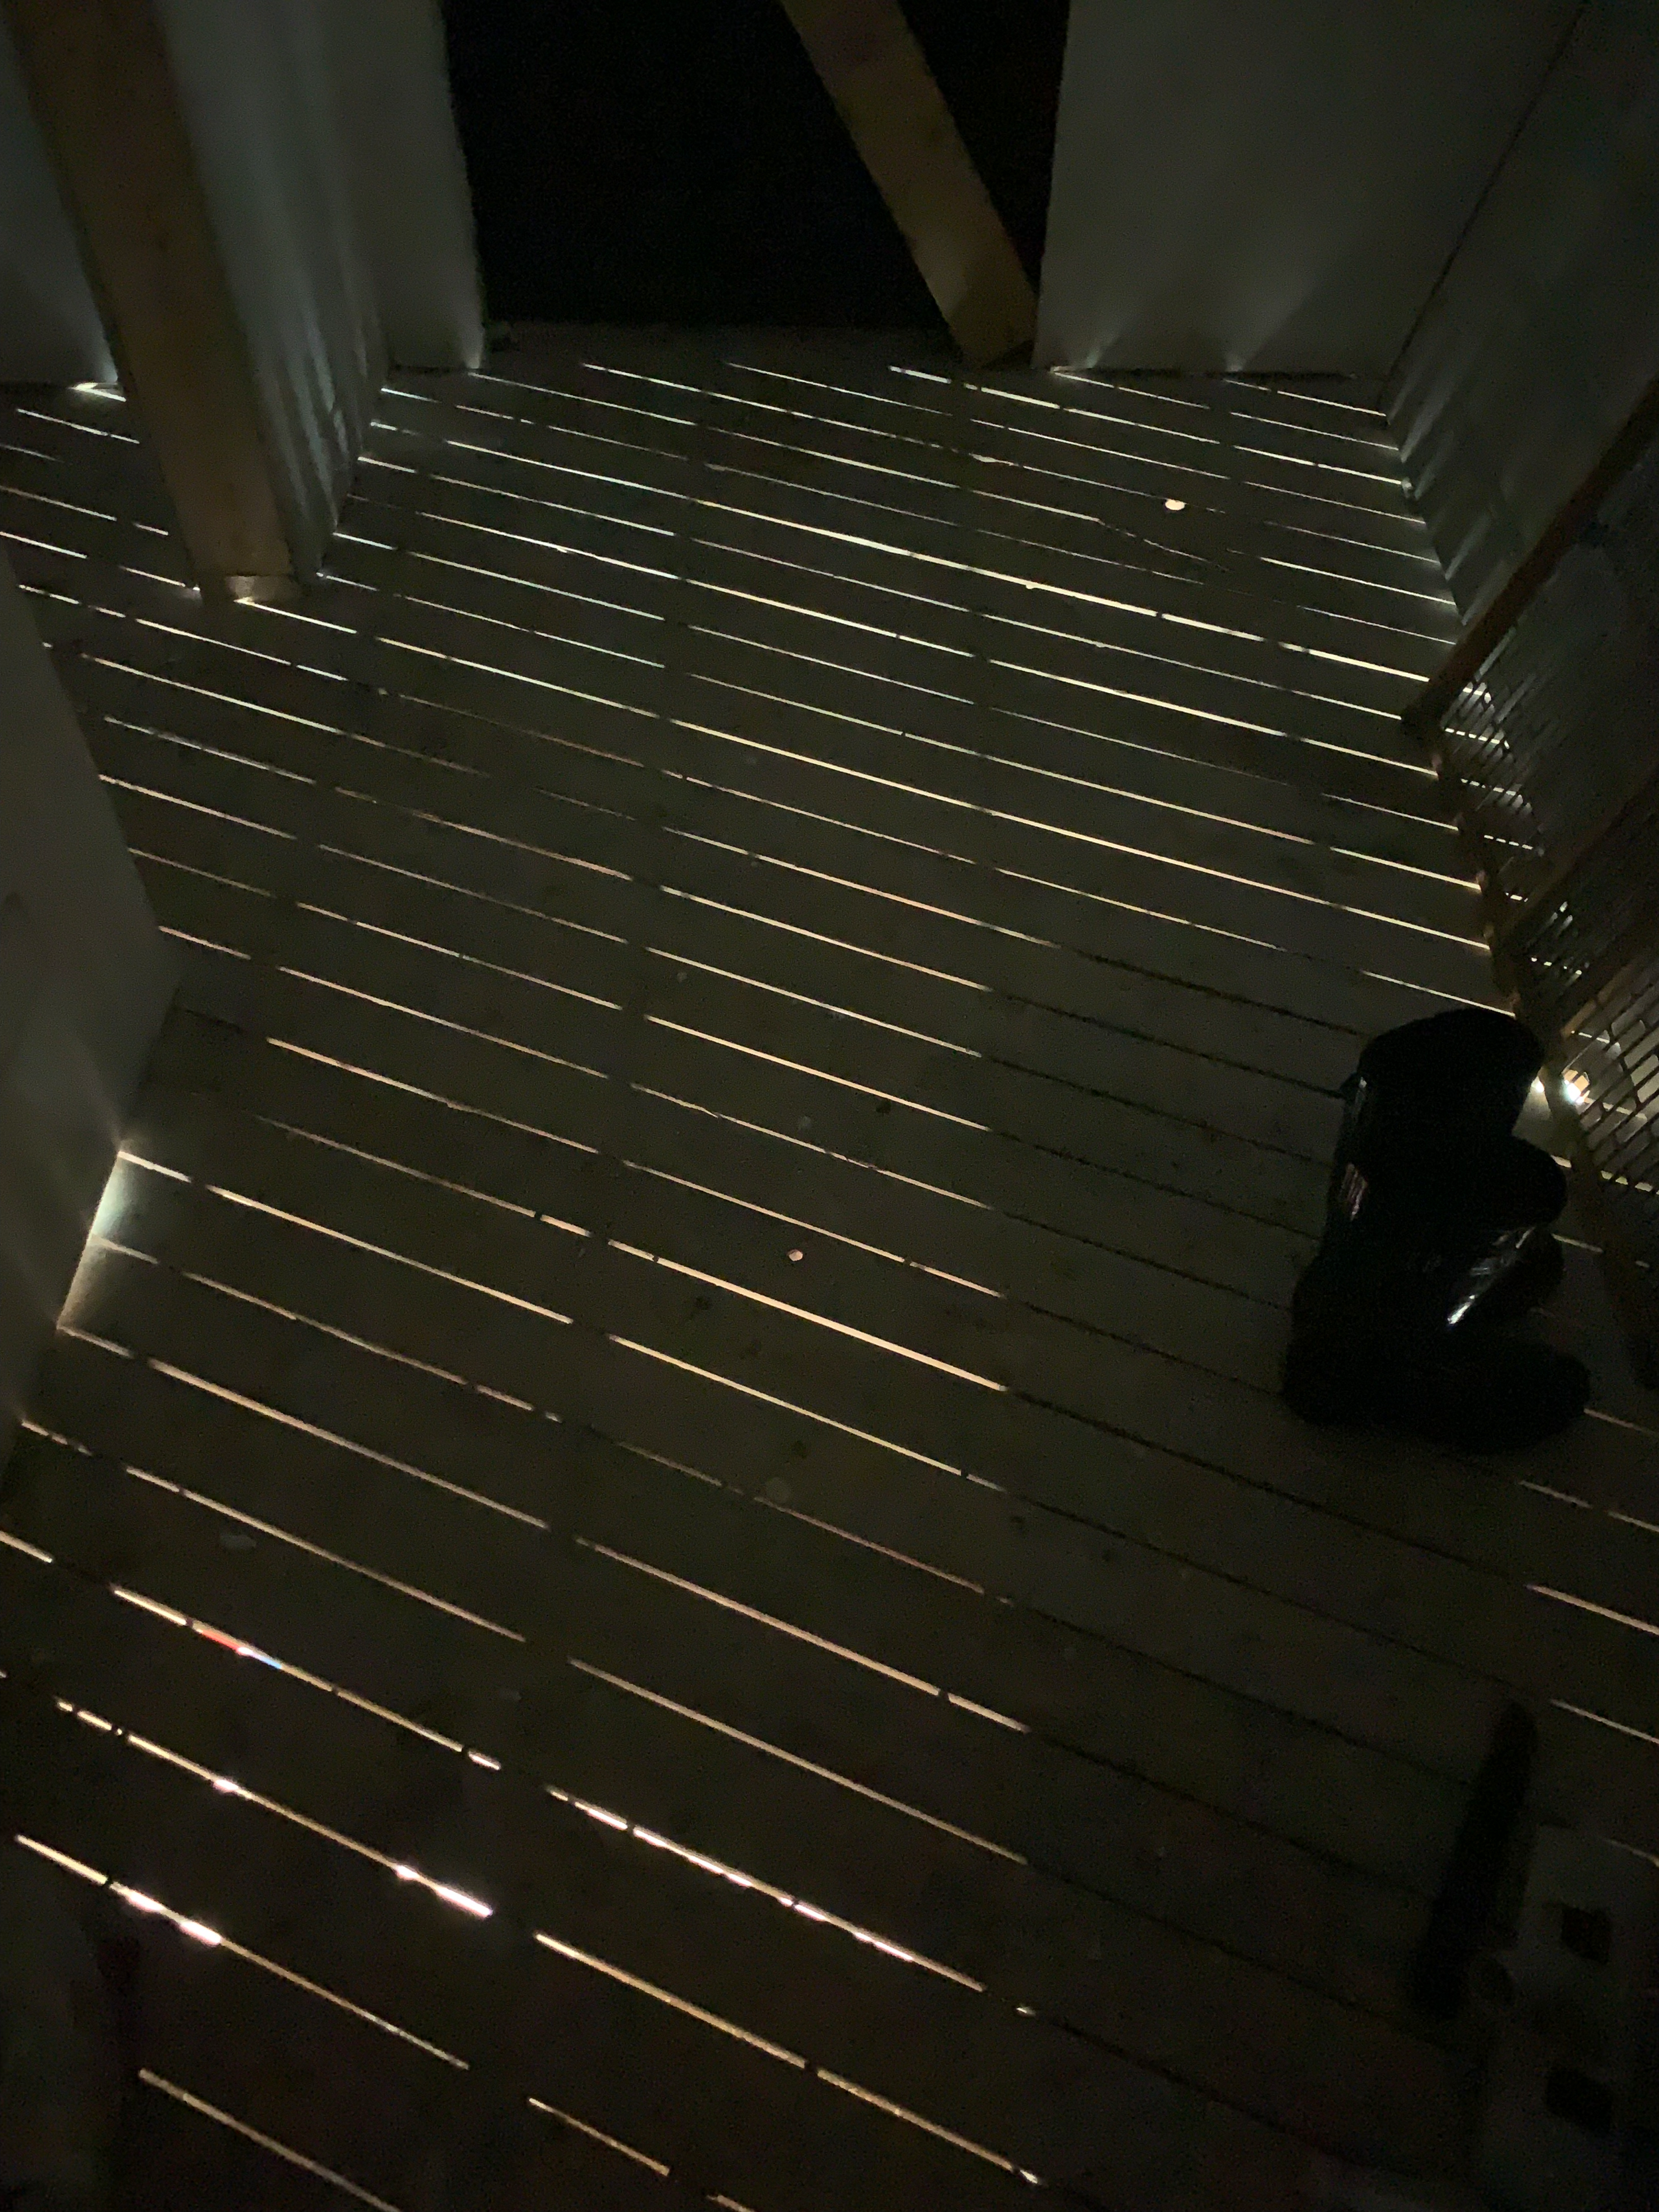
The state of the subfloor when we took over the build we quite a shock. The diagonal planks were widely spaced and many had missing and broken pieces. You could literally see the basement through the floor. Our contractor suggested that we install 5/8” plywood over it before the hardwood, but since we had all this 1/2 plywood left over from all the various site … , I decided to install that instead. There is so much waste in construction, I didn’t want to contribute to it any more than I needed to.
I laid the second subfloor in a staggered brick pattern, leaving a 1/2” gap between boards to avoid possible rubbing and screwed 2-1/2” flooring screws straight through to the floor joists. I used a ton of screws. It’s recommended to do about every 6” but I got a little carried away and did it closer to 3 or 4”. I walked every square inch of the floor to check for squeaking, and screwed 1” screws into the squeaks. The shorter screws ensured that the thread of the screw caught the first subfloor. I’m happy to report that there are no squeaky floorboards so far.
Next was my drywall window and door returns.
To be continued…